Sunday, May 17, 2009

MY FIRST KUSUDAMA: 2


The kusudama has been hung in my origami nook. I managed to get a photo of it which was not against a background on labeled boxes containing samples and instructions for my various creations. Here it is.


Perhaps all that effort was worth it. It does look rather good. And it's only made from cheap copy paper!

MY FIRST KUSUDAMA


The collection of loose paper flowers has eventually been battered into a ball. There were several glitches along the way.

First it went together like this.


This left triangular holes to fill which posed somewhat of a challenge.

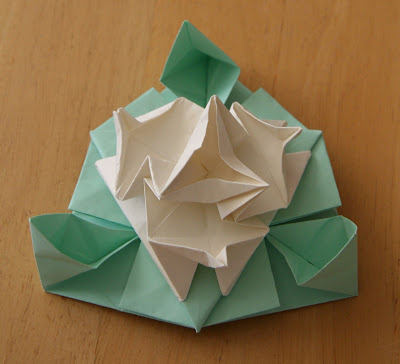
After some considerable experimentation I came up with this filler. The elements are derived from the ones used for the square sections but a quarter of the paper has been "folded out" of the model. This caused some bulkiness.


Unfortunately it proved impossible to add these elements to the constructed ball. The minute the triangle became stretched and stressed the white flower popped out. This may have been the result of the thickness of the paper (copy paper). I reluctantly resorted to gluing the flower flaps into the pockets of the triangle.

This did not entirely fix the problem. This time I could not easily connect the surrounding flowers to the triangle. The angle made this difficult. Then when I succeeded in doing so they popped out when the ball was handled.

I experimented with different ways of connecting the two elements and came up with one which did not put as much pressure on the connection points. It was extremely difficult to achieve it "in the round".

There seemed no alternative but to pull the ball apart (after all that work) and reconstruct it, starting with the triangular sections and temporarily leaving out (or leaving unconnected) those square flowers which were only connected to other square flowers. This would remove some of the tension created by the model stretching into a curved shape. The square flowers were relatively easy to connect together via their "leaves" and I hypothesized that I could add them in at the end.

That worked. It involved propping the final stages up on overturned bowls and wide tall fruit juice bottles. The square connecting flowers were added in the final stages without too much drama. First I added all the leaf connectors to the surrounding flowers. Then I connected a flower to one of each of these points, except for the two polar points. After I had fully connected the four flowers around the circumference I supported the model and added the bottom flower. After removing the supports I upended the model and added the last flower.

Just to be on the safe side, I resorted to adding a little glue to part of the triangle/square flower connections. Not only did I feel guilty for transgressing the traditional commandments of the art form, but the process was a minor nightmare. I had to hold the glued spots with clips until dry. This was both awkward and time consuming.


Finally I had what I wanted. Now I need to find a place to hang it up. That assumes that I can figure out where and how to connect the hanging thread to the flower ball.